Audio Tutorials and Workshop
Teensy with its significant number crunching performance and high bandwidth capability has the horsepower to synthesize CD quality audio data on the fly. There is also a very nice Teensy Audio Adapter, a powerful Audio Library and an Audio System Design Tool that makes it easy to work with audio using Teensy.
The Original PJRC Audio Workshop
Back in 2015 Paul Stoffregen, owner of PJRC and mastermind of the Teensy product line, created an Advanced Microcontroller Audio Workshop for a conference. The workshop walked users through using the Teensy 3.x, Teensy Audio Adapter, Teensy Audio Library and Audio System Design Tool along with some buttons and potentiometers wired up on a solderless breadboard for building streaming audio projects.
The workshop featured many aspects of working with audio systems including polyphonic playback, recording, synthesis, analysis, effects, mixing, simultaneous inputs & outputs and flexible internal signal routing.
The original example software can be found in the IDE under Files > Examples > Audio > Tutorial. You can find the original source material including a video presentation by Paul and others of the workshop that you may find informative on the PJRC site here. The original workshop PDF instructions can be found here. These will open in a new tab.
Our Version of the Audio Tutorials and Workshop
In our tutorials in this section, we are updating this very useful information specifically for use with the Prototyping System for Teensy 4.1. Also, since we aren’t under any time constraints like they were in the original workshop, we’ll use these pages as a framework to collect additional useful information and detail over time.
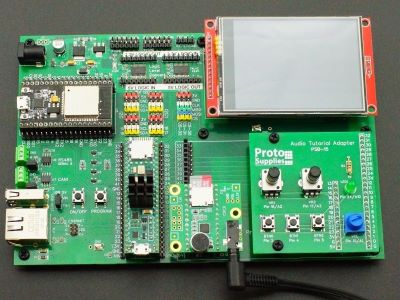
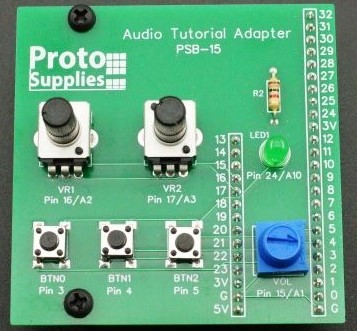
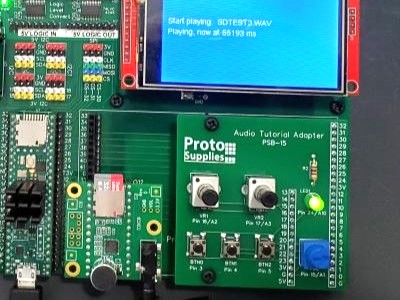
The Audio Tutorials make use of the Audio Tutorial Adapter which is available as either a kit or fully assembled as shown below. The setup could also be duplicated on a breadboard or the original PJRC breadboard setup could be connected to the Prototyping System via jumpers if you have one. If using a breadboard setup, be sure to follow the pin wiring shown on the Audio Tutorial Adapter page which is a little different than the original PJRC setup to avoid conflicts with other pins on the baseboard.
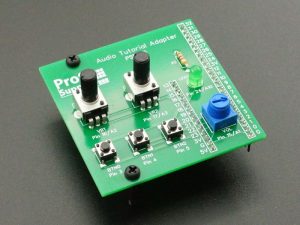


For more information about the adapter, click on the picture above.
Now On to the Tutorials / Workshops
Audio Tutorial Adapter and Testing of the Audio Hardware
Play Music From SD Card
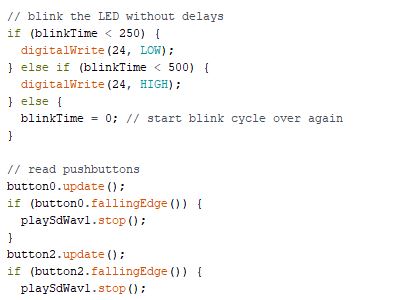
Blink LED While Playing Music
Do More While Playing Music

First Audio System Design Tool Use
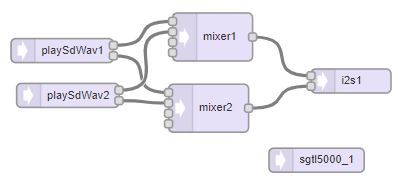
Working with Mixers to Play Multiple Sounds
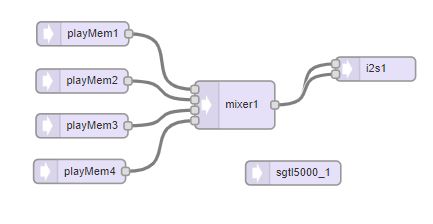
Playing Samples (Short Sound Clips) From Program Memory

Using the Microphone for the First Time
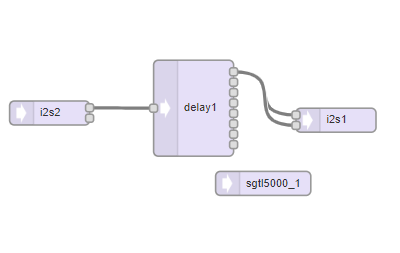
Adding a Simple Delay to Microphone Input
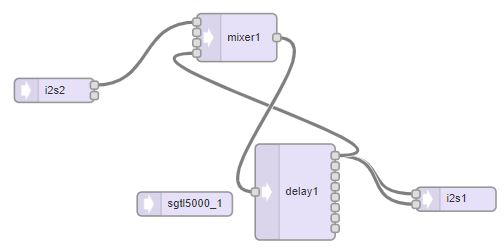
Adding an Echo Effect to Microphone Input
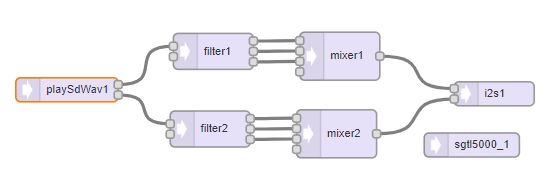
Using Simple Filters (Low Pass, Band Pass, High Pass)

Using Oscillators and Envelopes to Synthesize Sounds
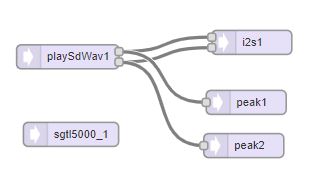
Audio Analysis – Peak Detection
Data Analysis – Fourier Transform
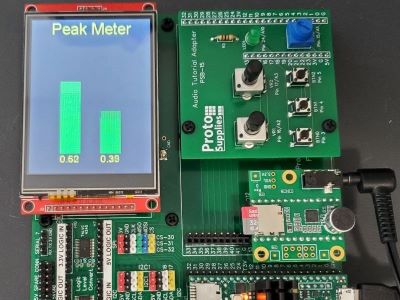
Data Visualization – Peak Detection