Teensy 4.x Audio Stacks
$45.95 – $55.95
For compact Teensy 4.0 and 4.1 audio projects
Description
The Teensy products are popular for audio projects due to their high performance and the availability of compatible Teensy Audio Adapters and the Teensy Audio Library and toolkit.
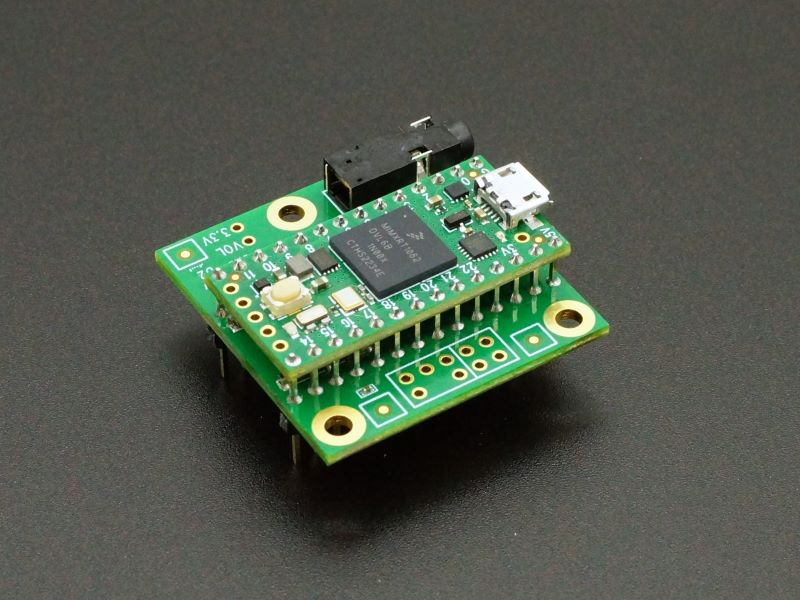
These are preassembled vertical stacks of either a Teensy 4.0 or Teensy 4.1 soldered to a Teensy 4.x Audio Adapter using extended tail gold headers which prevents the performance issues that sometimes occur when using wires or jumpers to connect the high speed signals between these two modules.
Please note: If you need a larger number of these assemblies than we show in stock or you need them built with the Lockable version of Teensy 4.1 or Teensy 4.0, or just need headers added to the microphone input, etc. drop us an email with your requirements to support@protosupplies.com. We carry inventory not showing on the website to support large or custom orders.
Package Includes:
- Teensy 4.0 or Teensy 4.1 and Teensy 4.x Audio Adapter preassembled in a vertical stack.
KEY FEATURES OF TEENSY 4 AUDIO STACK:
- Teensy 4.0 or Teensy 4.1 and Audio Adapter preassembled and tested
- 16-bit, 44.1kHz sample rate audio
- Plays uncompressed WAV and Raw audio files
- 3.5mm audio jack
- Micro-SD card slot
- Small size is perfect for embedding.
- Short soldered connections ensure signal integrity
- 3.3V operation
The Audio Adapter board uses the SGTL5000 stereo codec IC that includes a headphone amplifier. The board also comes with a 3.5mm audio jack for headphones, a micro-SD card slot for storing audio files and optional spaces for a 25K volume control potentiometer, microphone and Flash or SRAM memory chip.
The Teensy Audio Library is installed with Teensyduino. It lets you use the input and output simultaneously together with a toolkit of audio processing objects to easily create sophisticated audio applications. You can play multiple sound files, create synthesized waveforms, apply effects, mix multiple streams, and output high quality audio to the headphones or line out pins.
The Teensy 4.x microcontroller boards have the Cortex-M7 DSP instruction set that provides the computational power for real-time FFT (spectrum analysis), opening up the possibility of creating advanced sound-reactive projects.
The Teensy product line which is focused on being fast , small and Arduino compatible is developed by the company PJRC. They have a loyal following of designers and advanced hobbyists that create many libraries to take advantage of some of the more advanced features of the Teensy products or to modify Arduino libraries for compatibility. Many of them also participate in the excellent PJRC forum. The forum is targeted towards more advanced users and topics and includes a category for Audio Projects many of which utilize these these adapters.
Getting Started with Teensy 4 Audio Stack
Audio Adapter Connections
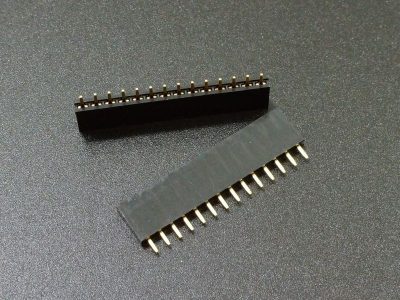
The Audio Adapter connects to the Teensy through two 1×14 headers using the signals as shown in the table below. Shareable indicate pins can also be used by other devices that use the same bus type. The other Teensy 4.x pins remain available for other uses.
| Function | Teensy 4.x Pins | Shareable |
| Audio Data | 7, 8, 20, 21, 23 | |
| Audio Control | 18, 19 | SDA, SCL (other I2C chips) |
| Volume Pot | 15 (A1) | |
| SD Card | 10, 11, 12, 13 | MOSI, MISO, SCK (Other SPI Chips) |
| Memory Chip | 6, 11, 12, 12 | MOSI, MISO, SCK (Other SPI Chips) |
Recommended Memory Chips (optional)
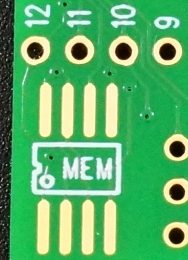
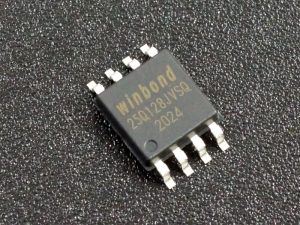
The board has space for a 128M-bit (16MB) Flash memory with SPI interface.
The Teensy Audio Library can play audio clips from this memory using the SerialFlash library.
This Flash memory has a much lower access latency than SD cards which allows many sounds to be played simultaneously.
The following Flash chips are compatible.
- W25Q128JV
- W25Q128FV
Click the pic for full Flash information.
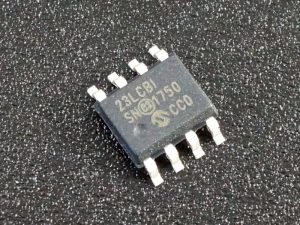
Alternatively, a 1M-bit (128kB) SRAM with SPI interface may be used. The Teensy Audio Library can use the RAM chip for a multi-tap delay line of up to 1.5 seconds. This demo video shows the delay feature in operation.
The following devices are compatible.
- 23LC1024
Click the pic for full SRAM information.
Be sure to observe the correct polarity of the part while mounting. The dot or indentation denotes pin 1.
Recommended Volume Control Potentiometer (optional)
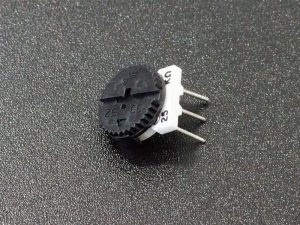
The board has a location for a 25K thumbwheel potentiometer to optionally provide a manual volume control or to control another audio parameter if desired. The potentiometer feeds Teensy pin 15 ( Analog input A1) so can be used as a generic control input.
You can find the link to the full potentiometer information by clicking on the pic.
Recommended SD Cards (optional)
Most SD cards are optimized for sequential access for use in devices like cameras, so all will work fine for playing a single WAV file at a time.
For simultaneous playing of 2-4 stereo WAV files, you need to use an SD card optimized for non-sequential access. PJRC recommends SanDisk Ultra for this application though most cards with “A1” or “A2” rating should work OK.
As of Teensyduino 1.54, the Arduino SD library now support cards up to 2TB in size. Earlier versions of Teensyduino support up to 32GB card size.
The Audio Library includes a simple benchmark to test SD cards. Open it from the IDE at File / Examples / Audio / HardwareTesting / SdCardTest.
Our Evaluation Results:
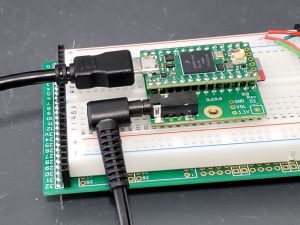
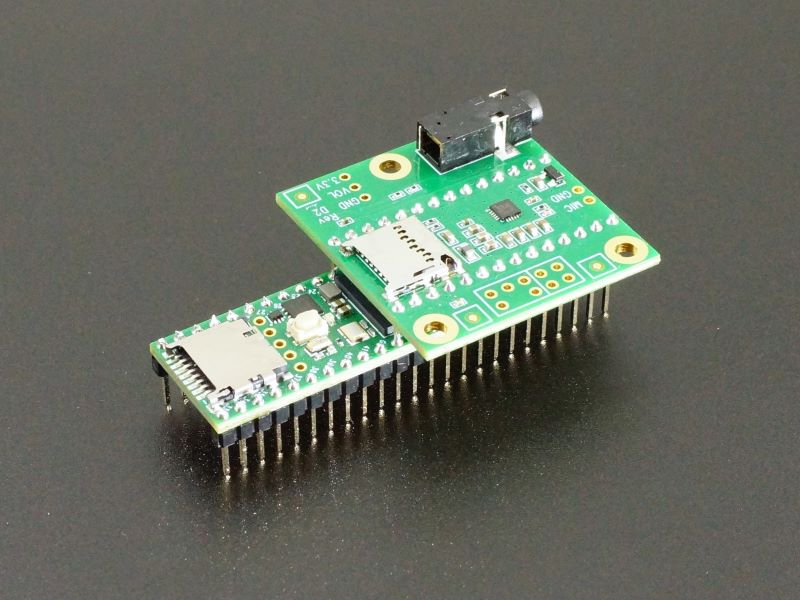
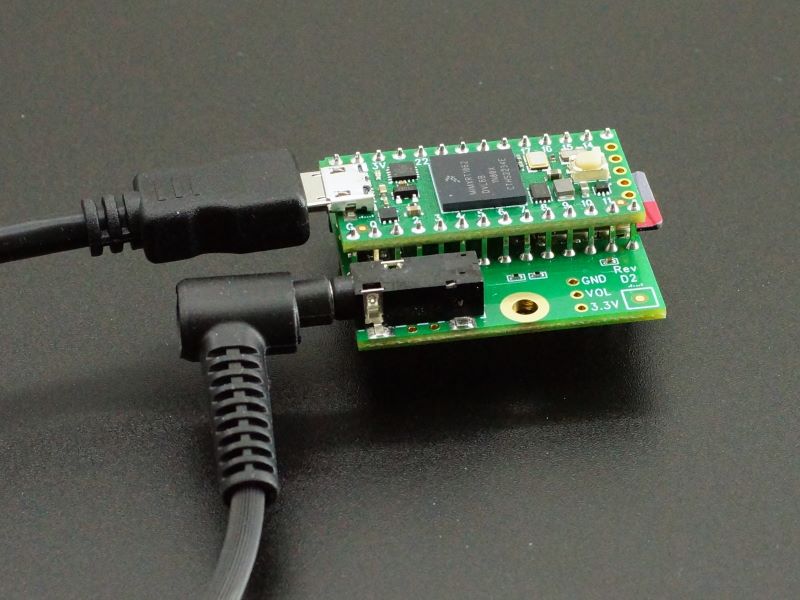
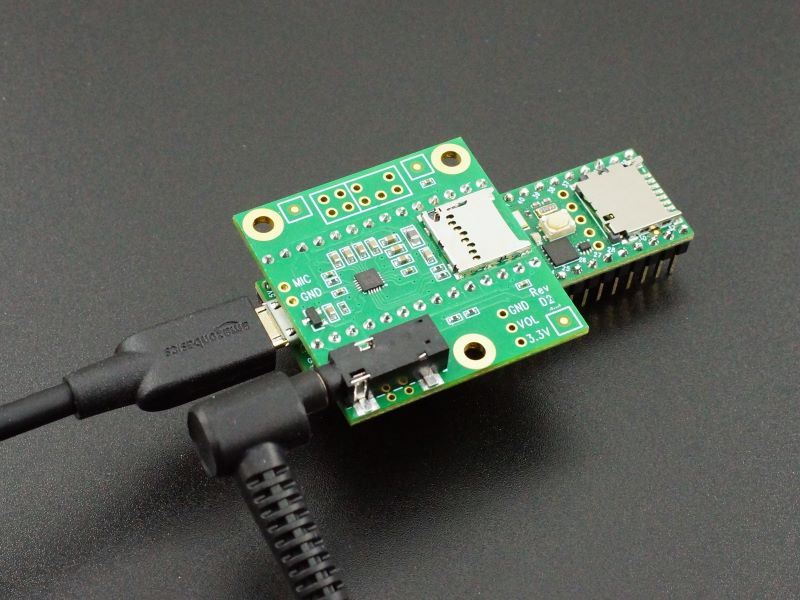
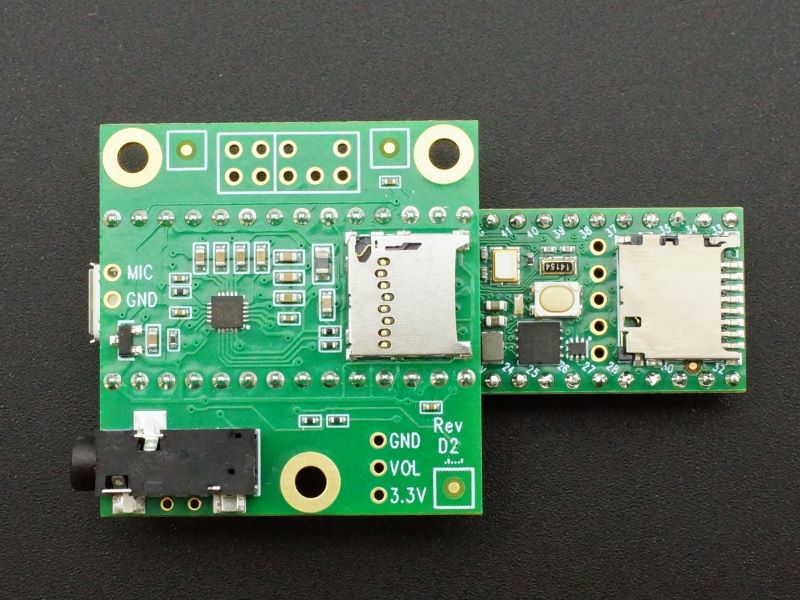
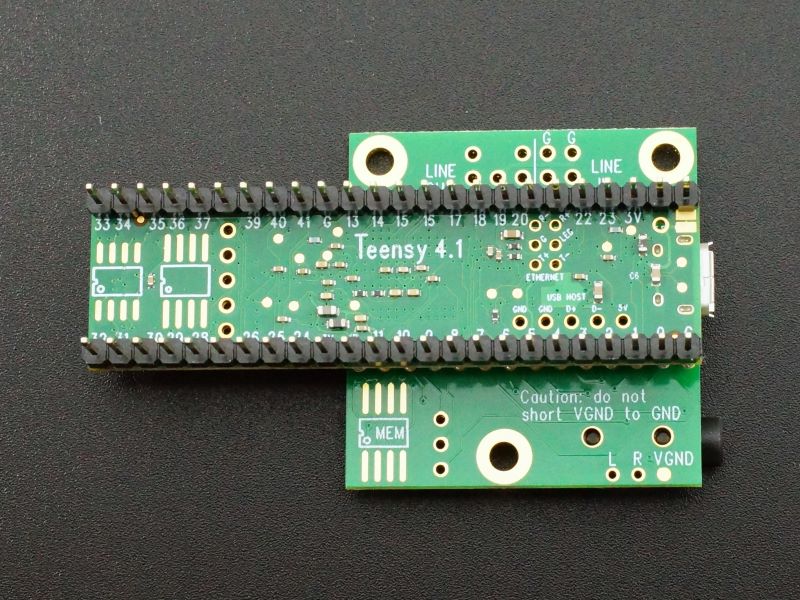
The Teensy 4.0 is mounted on top in order to provide easy access to the Program button while the Teensy 4.1 is mounted on the bottom for easier access to all the I/O pins while still providing access to the Program button.
From an audio processing capability, the two combos are the same. The Teensy 4.0 provides the most compact and cost effective assembly while the Teensy 4.1 provides more available I/O pins and also has its own SD card slot that supports higher SPI speeds than the one on the Audio Adapter which might be useful for some applications that need to push the SD card read/write speeds.
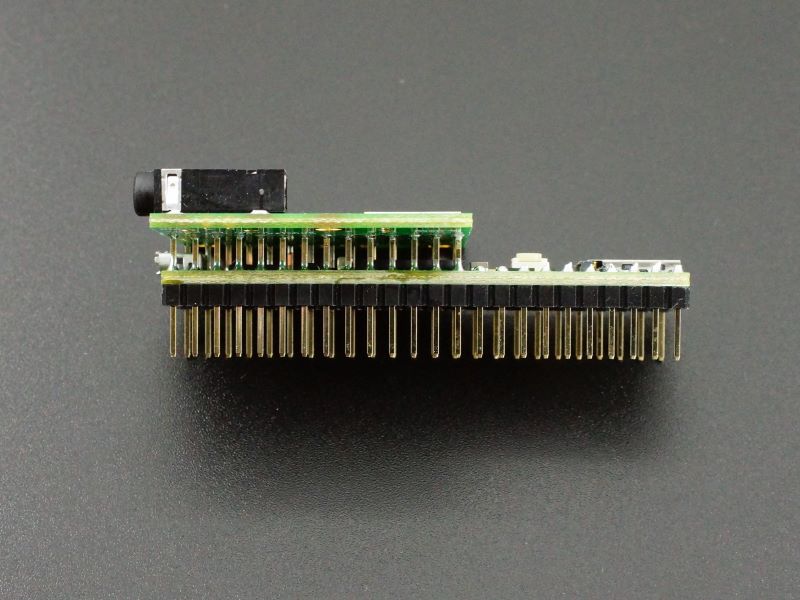
The bottom of the assembly has pins so that the assembly can optionally be plugged into a socket or breadboard or female jumper wires can be connected to the pins. If used with a solderless breadboard, the wide Audio Adapter covers the breadboard connecting points, so any wiring requires the use of the U-shaped style wire jumpers placed before the assembly is inserted. Since the Audio Adapter is mounted on top of the Teensy 4.1, that combo provides a little more clearance for breadboard jumpers but it is still tight. If the pins are not being used for the application, they can be clipped off if desired.
The locations for memory chip, volume potentiometer and line in/out connectors are accessible for adding these parts if desired. The microphone won’t fit due to space issues on the Teensy 4.0 stack, but a right angle header or wires can be soldered to the microphone pads for attaching to a remotely mounted microphone. If you would like a right angle header added for your project, just make a note in the comment section when you checkout to “Please add right angle header to the Audio Stack” and we’ll add one for you at no extra cost.
The Teensy line of boards are an excellent product that provides high performance and advanced I/O to tackle even the hardest problems which is why they are often found in advanced hobbyist projects as well as low volume production builds.
The PJRC forum provides access to excellent technical advice that is far more advanced than found on the normal Arduino forums. It is the best place to find information on how to use the advanced features found in the Teensy. It is not the place to get basic Arduino type questions answered however, which is good as the forum is not cluttered with ‘how do I blink an LED?’ type questions.
It is highly suggested to checkout the PJRC website and forum at the links below for additional information.
Before they are shipped, these modules are:
- Boards are soldered together
- Flux residue is cleaned
- Basic functionality is tested by playing WAV file from SD card.
- Packaged in resealable ESD bag for safe storage.
Further Reading:
You can read more about the Teensy hardware on our product pages.
Highly recommended to also checkout the PJRC website and forum.
PJRC Audio Forum – Excellent source of technical information
PJRC website – Audio Adapter Boards – Good source of additional info
PJRC Audio Tutorial – Parts, manual and videos for getting started with the Audio Adapter boards.
Notes:
- None
Technical Specifications
| Operating Voltage | 3.3V |
| Typical Operating Current | 100mA (typical) to 160mA with SD card and full headphone volume. |
| Board Dimensions | |
| Teensy 4.0 Audio Stack | 35x 37mm (1.4 x 1.5″) |
| Teensy 4.1 Audio Stack | 61x 37mm (2.4 x 1.5″) |
| Stacked Height (not including bottom pins | 12mm (0.47″) |
| Country of Origin | USA |

