Teensy 4.1 Ethernet
$3.95 – $5.95
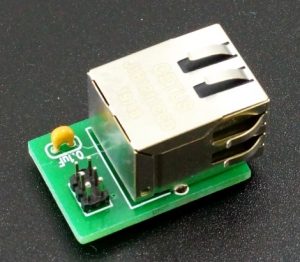
Connects Ethernet cable to Teensy 4.1
Select Kit or Assembled
Description
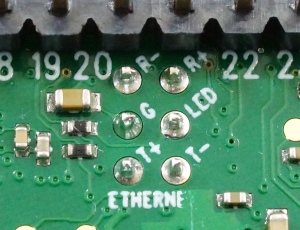
The Teensy 4.1 has full 10/100 Mbit Ethernet capability built in and the signals are brought out to 6 solder pads on the board. This kit provides all the hardware needed to connect an Ethernet cable up to the Teensy 4.1
Select either the kit version or the fully assembled version.
PACKAGE INCLUDES:
- 1 Adapter PCB
- 1 Ethernet Magjack
- 2 6-pin 2×3 header, 2mm spacing
- 1 Capacitor, multilayer ceramic 0.1uF
- 1 Ribbon cable assembly 4.5″
If you buy the assembled version, the Magjack connector, capacitor and one of the 2×3 headers will come soldered to the PCB. The second 2×3 header will be loose in the bag in case it is needed for the Teensy 4.1. If you also buy our Teensy 4.1 Fully Loaded, it comes with this connector already installed.
Assembling the Kit
The kit is easy to assemble as all the parts are through-hole. All of the components are inserted on the side of the board with the component silkscreen outlines.
- Install and solder the ceramic capacitor where it says 0.1uF. Orientation does not matter
- Install one of the 6-pin headers and solder. Solder one pin and then verify the connector is fully seated. If it is not, reheat the solder joint and reposition the connector so it sits flat then solder the remaining pins.
- Install the MagJack and solder. The connector will lock into the board pretty well for soldering but it is always a good idea to solder one of the pins and verify connector alignment before soldering the rest of the pins including the two large shield pins.

- Install the second 6-pin header into the Ethernet location on the Teensy 4.1 board. Solder one pin and verify the connector is fully seated. If not, reheat the solder joint and reposition the connector so that it sits flat then solder the remaining pins.
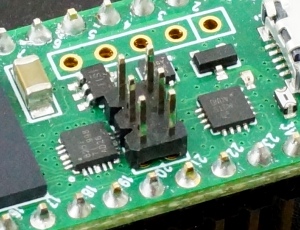
This is actually the hardest part of the assembly since the underside of the Teensy 4.1 has many small components and if the headers are already installed, the spacing is pretty tight.
If you are not comfortable with your soldering skills, you may want to pick-up the Teensy 4.1 Fully Loaded below that already has this header included.
Another option is to go with our Prototyping System for Teensy 4.1 coupled with the Teensy 4.1 Fully Loaded for Prototyping System. This setup brings the Ethernet and many of the other interfaces out for easily working with them in a simple plug-n-play fashion.
Before they are shipped, these kits are:
- Assembled if ordered that way.
Notes:
- None
Further Reading
You may also like…
-
 Select options This product has multiple variants. The options may be chosen on the product page
Teensy 4.1 Fully Loaded
$38.95 – $53.95Includes 8MB PSRAM & 16MB / 128MB / 256MB Flash or 16MB PSRAM
Select Configuration
-
Select options This product has multiple variants. The options may be chosen on the product page
Teensy 4.1 Fully Loaded For Prototyping System
$40.95 – $56.95Bottom mounted I/O for most PCB baseboards.
Select Configuration
-
Select options This product has multiple variants. The options may be chosen on the product page
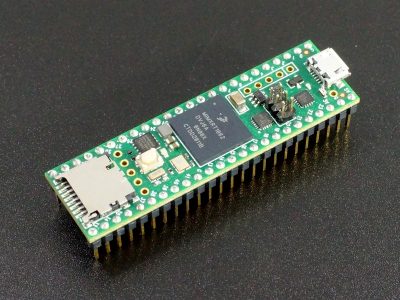
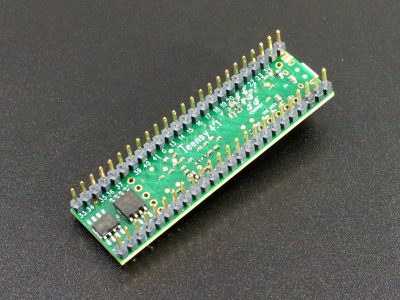
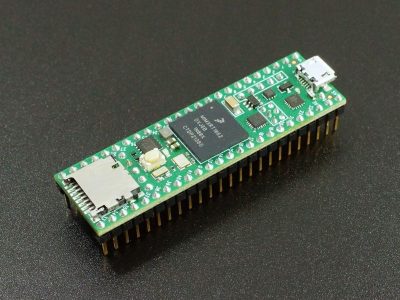
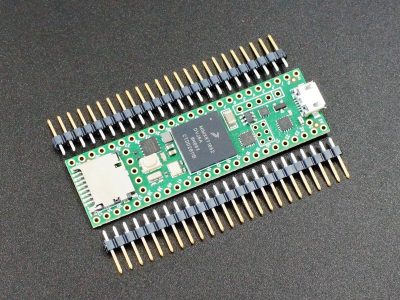
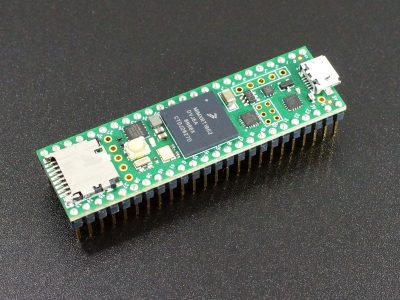
Teensy 4.1
$30.95 – $36.95600MHz Arduino compatible microcontroller
Select Pins Loose or Soldered with Ethernet or NE (No Ethernet) or Lockable
-
 Select options This product has multiple variants. The options may be chosen on the product page
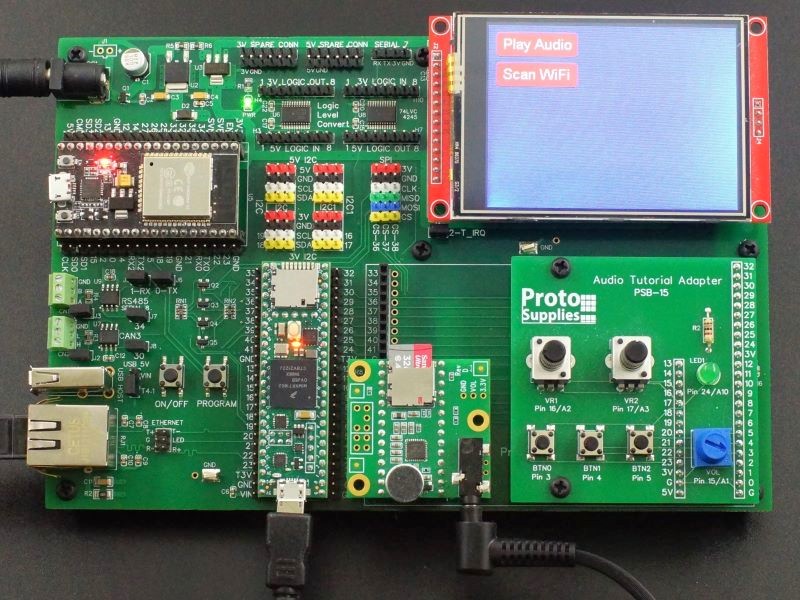
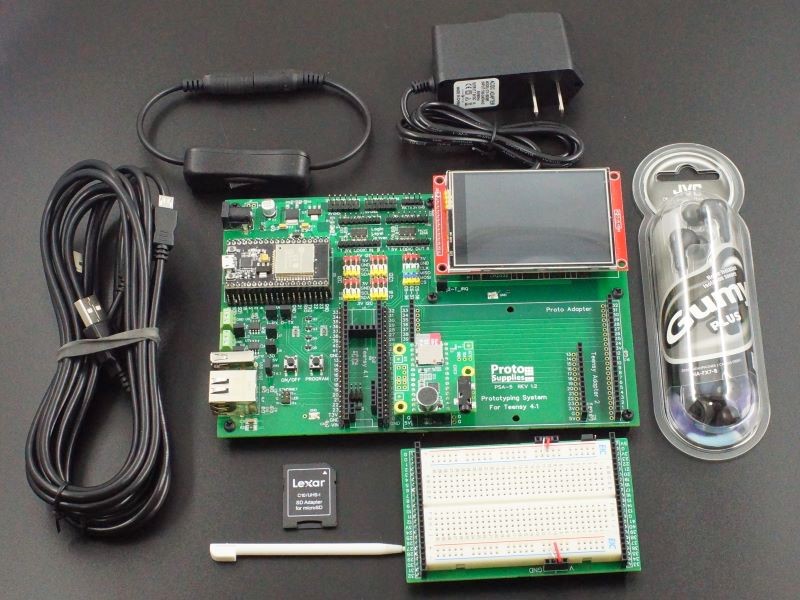
Prototyping System For Teensy 4.1
$69.95 – $149.95Platform for working with the powerful Teensy 4.1