L293D V1 Motor Driver Shield
$4.49
Drive 4 lower current DC motors at up to 1.2A peak.
3 in stock
Description
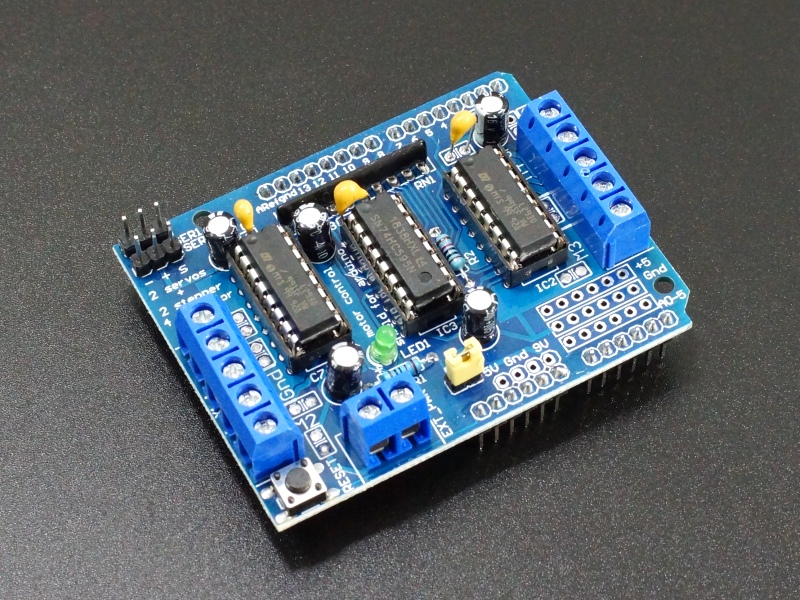
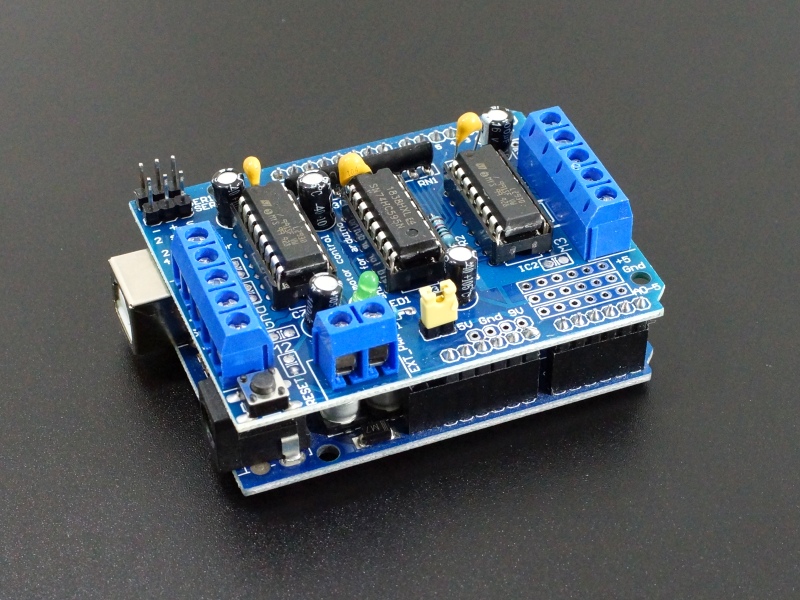
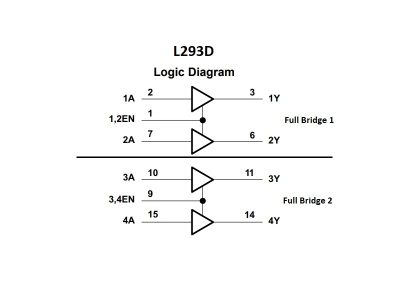
The L293D V1 Motor Driver Shield has 4 full-bridge motor driver channels and can drive up to 4 DC motors or 2 stepper motors and 2 servo motors. It fits Arduino Uno, Mega 2560 or other Arduino style boards with compatible I/O pins.
PACKAGE INCLUDES:
- L293D V1 Motor Shield
KEY FEATURES OF L293D V1 MOTOR SHIELD:
- Drive 4 DC motors with speed and direction control
- Drive 2 stepper motors
- Drive 2 servo motors
- 4.5 – 25V motor voltage range
- 1.2A peak current per channel (600mA continuous)
The L293D V1 Motor Shield can drive up to 4 DC motors at voltages from 4.5 – 25V and at currents of up to 1.2A peak (600mA continuous) per motor with speed and direction control.
The module can also support up to 2 stepper motors. Each stepper motor takes the place of 2 of the DC motors, so you can run 2 stepper motors or 1 stepper motor and 2 DC motors or 4 DC motors.
The shield also technically supports 2 servo motors for which there are two 3-pin headers on the module. Unfortunately it powers the servo motors directly off the Arduino 5V which is usually not a great idea. Doing so can overheat the Arduino on-board 5V regulator as well as induce electrical noise into the Arduino 5V power causing intermittent problems that are difficult to troubleshoot. On the plus side, it does have a 100uF capacitor on these power pins which does help somewhat. If using this feature, use only with small servos like the SG90 and keep an eye out for any issues. As another option, the traces to the 5V center pins on the servo headers can be easily cut and rewired to a separate 5V power source or the motor source if powered off of 5-6V.
Motor Power Connections
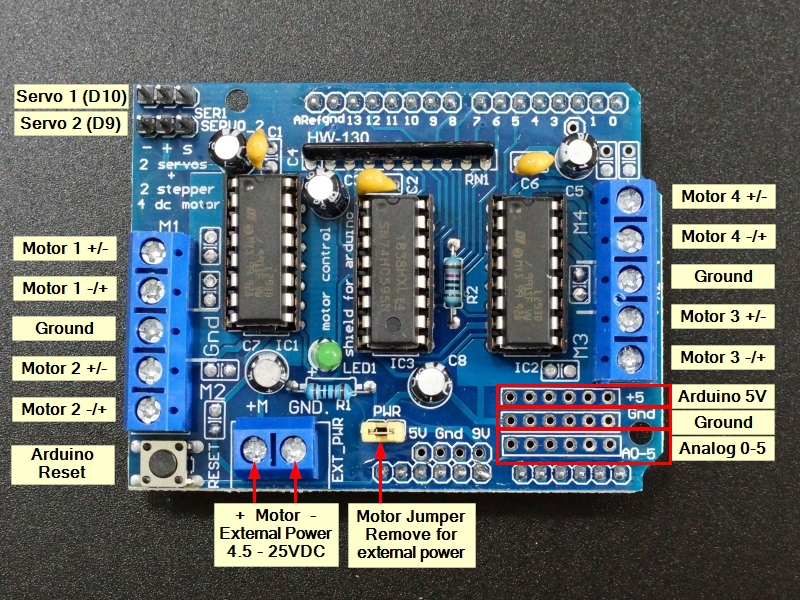
Motor voltage must be between 4.5 – 25V. This power can be shared with the Arduino or be separate. To select this, there is a jumper near the 2 terminal power connector labeled PWR.
When this jumper is installed, the power from the Arduino DC power jack is also connected to the motors. Vin (marked 9V on the board) is brought up form the Arduino to power the motors.
When the jumper is removed, that isolates the motor power from the Arduino and it must be supplied separately by connecting power to the 2 terminal power connector. Note: Do not apply power to the 2 terminal power connector with the jumper in place or it will short the two power supplies together!
1 x 2 Terminal EXT_PWR (Motor Power)
- +M = Motor Vcc which must be between 4.5 and 25V.
- GND = Motor Ground.
DC Motor Connections
The motor connections are via two screw terminals for each motor and labeled M1 thru M4. The center terminal on the 5-pos terminal blocks are connected to ground.
The wiring of which lead of the motor connects to which terminal is somewhat arbitrary and relative to what you consider forward vs reverse motor operation. If the motor goes in the opposite direction that you expect, simply reverse the wiring.
1 x 2 Terminal M1 – M4 (DC Motor 1-4)
- Motor ‘-‘ positive lead
- Motor ‘+’ negative lead
Stepper Motor Connections
Stepper motors are typically 4 wire. Coil 1 will connect across one motor port such as M1 (M3) and coil 2 will connect across the other motor port such as M2 (M4). If the stepper motor has 5 wires, the center tap wire will be connected to the center ground terminal.
1 x 2 Terminal M1(M3) – M2(M4) (Servo Motor 1-2)
- Motor Coil 1
- Motor Coil 2
Arduino to Shield Pin Connections
The shield has a remote reset button located on it for easy access.
The shield uses Pins D3,D4, D5, D6, D7, D8, D11 and D12 for DC and stepper motor control.
D9 and D10 come out to the Servo headers. D10 is connected to Servo 1. D9 is connected to Servo 2,
The other pins are available including the 6 analog pins that can also be used as digital I/O. These have solder pads so that a header can be added if desired for easy connections. Next to that is a row of 5V and Ground connections that can also be populated with headers and can be handy for hooking up various sensors.
OUR EVALUATION RESULTS:
This is an older style motor driver which is inexpensive and gets the job done for driving smaller DC motors or stepper motors.
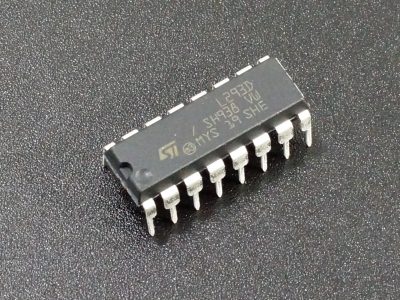
The chips are socketed for easy replacement should that be required.
If you need a little more power handling and you are handy with soldering, it is possible to solder spare L293D chips piggy-back over the ones on the board. This effectively doubles the power handling capability to 2.4A peak and 1.2A continuose current per motor.
Using the module requires use of the Adafruit Motor Shield V1 (AFMotor.h) library that come with the Arduino IDE.
For more information on using this module, refer to the Adafruit documentation which has been archived.
L293D V1 Motor Driver Shield Example Program
/*
Exercise V1 L293D Motor Shield
This simply creates 4 motor objects and then runs them forward, backwards,
stops them and then repeats.
*/
#include <AFMotor.h>

const int MOTOR_1 = 1;
const int MOTOR_2 = 2;
const int MOTOR_3 = 3;
const int MOTOR_4 = 4;

AF_DCMotor motor1(MOTOR_1, MOTOR12_64KHZ); // create motor object, 64KHz pwm
AF_DCMotor motor2(MOTOR_2, MOTOR12_64KHZ); // create motor object, 64KHz pwm
AF_DCMotor motor3(MOTOR_3, MOTOR12_64KHZ); // create motor object, 64KHz pwm
AF_DCMotor motor4(MOTOR_4, MOTOR12_64KHZ); // create motor object, 64KHz pwm
//===============================================================================
//  Initialization
//===============================================================================
void setup() {
  Serial.begin(9600);           // Initialize serial port
  Serial.println("Motor test");

  motor1.setSpeed(200);          // set the motor speed to 0-255
  motor2.setSpeed(200);
  motor3.setSpeed(200);
  motor4.setSpeed(200);
}
//===============================================================================
//  Main
//===============================================================================
void loop() {
  // Simply run the selected motor in both directions and stop.  Then repeat
  Serial.println("Forward");

  motor1.run(FORWARD);         // turn it on going forward
  motor2.run(FORWARD);
  motor3.run(FORWARD);
  motor4.run(FORWARD);
  delay(3000);

  Serial.println("Reverse");
  motor1.run(BACKWARD);        // the other way
  motor2.run(BACKWARD);
  motor3.run(BACKWARD);
  motor4.run(BACKWARD);
  delay(3000);

  Serial.println("Stop");
  motor1.run(RELEASE);         // stopped
  motor2.run(RELEASE);
  motor3.run(RELEASE);
  motor4.run(RELEASE);
  delay(3000);
}
Before they are shipped, these modules are:
- Inspected
- Basic operation of driver verified
- Repackaged in quality recloseable ESD bags for safe storage.
Notes:
- None
Technical Specifications
| Operating Ratings | Voltage range (Vcc) | 4.5 – 25 VDC |
| Max current per bridge (peak) | 1.2 A | |
| Max current per bridge (sustained) | 600 mA | |
| Dimensions | Driver Board (L x W) | 70 x 54 mm (2.75 x 2.1″) |
| Country of Origin | China |

