16-Channel PWM Servo Controller Module
$8.95
Controls up to 16 Servos or LEDs using I2C bus
7 in stock
Description
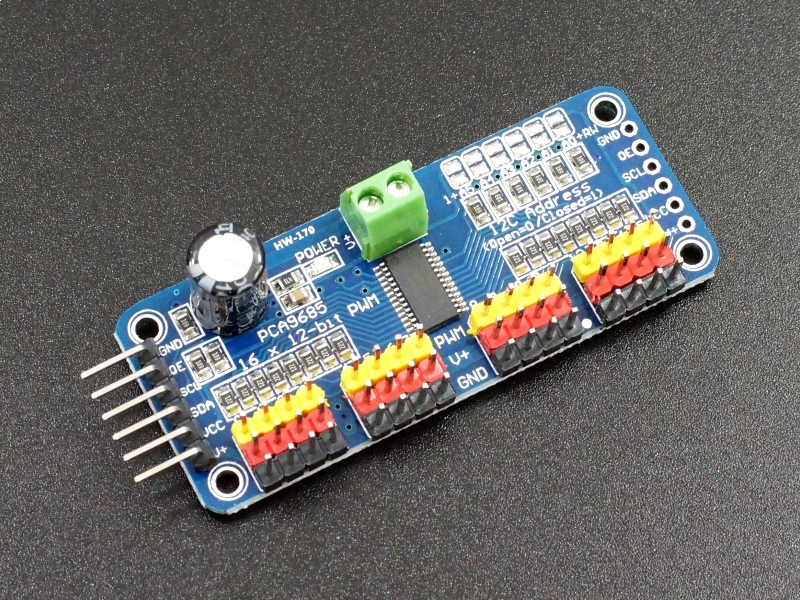
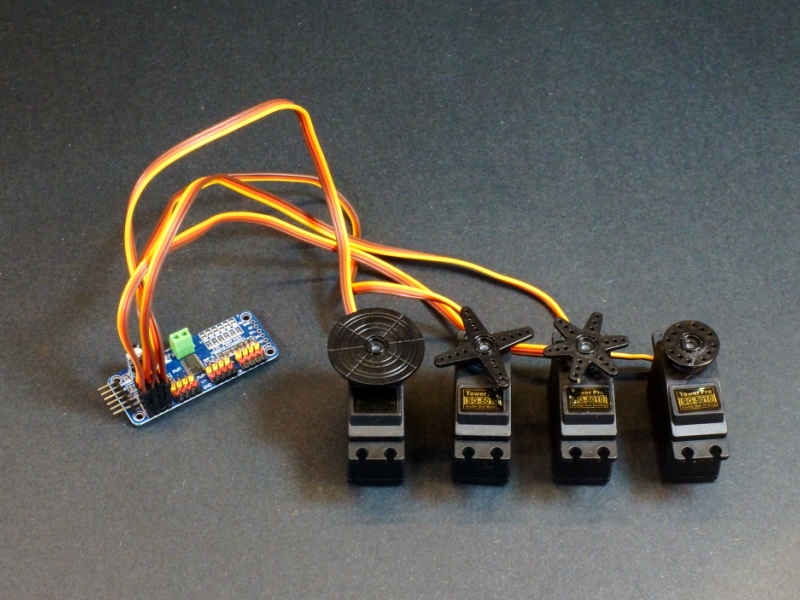
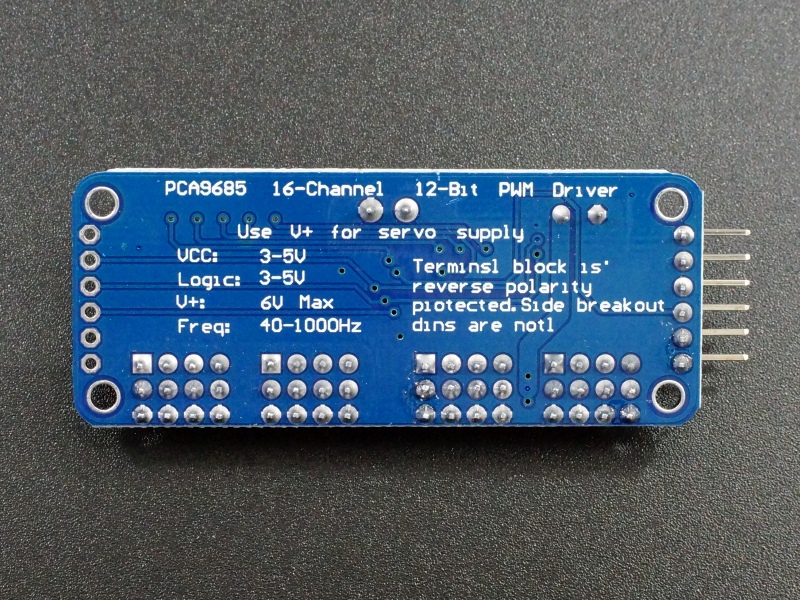
This 16-Channel PWM Servo controller module with I2C interface is setup to be used with servo motors, but which can also be used to drive LEDs as well.
PACKAGE INCLUDES:
- 16-Channel PWM Servo Controller Module
KEY FEATURES OF 16-CHANNEL PWM SERVO MODULE:
- 16 Channels of individually controllable PWM using PCA9685 Chip
- PWM / Ground / 5V pins for each servo
- I2C Interface
- 24Hz to 1.5KHz PWM frequency range w/ 12-bit resolution
- Multiple modules can be daisy-chained
Microcontrollers can drive PWM devices such as LEDs and servo motors directly, but they are limited in the number of devices that they can drive. These modules allow for a large number of PWM outputs using only 2 pins (I2C) on the MCU. They also off-load some of the processing requirements from the MCU so that it can concentrate on other tasks.
This 16-channel PWM controller is based on the PCA9685 chip. It is designed to provide up to 16 channels of PWM control that can be used for controlling brightness of LEDs or for driving servo motors. The module can be programmed with a PWM frequency from 24Hz up to 1.5KHz and each of the outputs has a 12-bit resolution. In addition, the channels can be programmed fully ON/OFF to use as general purpose digital outputs. They cannot however be used for inputs.
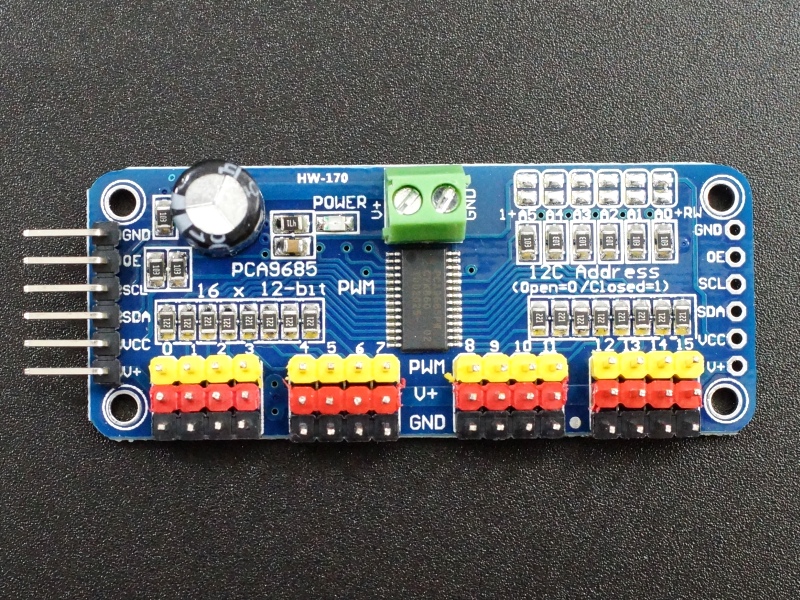
Multiple modules can be daisy-chained together of you want to drive more than 16 outputs. There are solder bridge locations on the module that can be used to set distinct I2C addresses for each of the modules that allow up to 62 modules to be connected together. These are labeled A0 – A5 and use binary addressing. The chip reserves 2 of the I2C addresses which is why there are 62 rather than 64 possible addresses that can be used.
The base I2C address for the module is 0x40 with none of the A0-A5 jumpers in place. If you wanted to add a 2nd board, you would jumper the two solder pads of A0 with a blob of solder or a 0 ohm resistor or similar which would make the address of the 2nd board 0x41.
- Board 0: Address 0x40, no jumpers
- Board 1: Address 0x41, jumper A0
- Board 2: Address 0x42, jumper A1
- Board 3: Address 0x43, jumper A0 & A1
- and so on….
Board Connections:
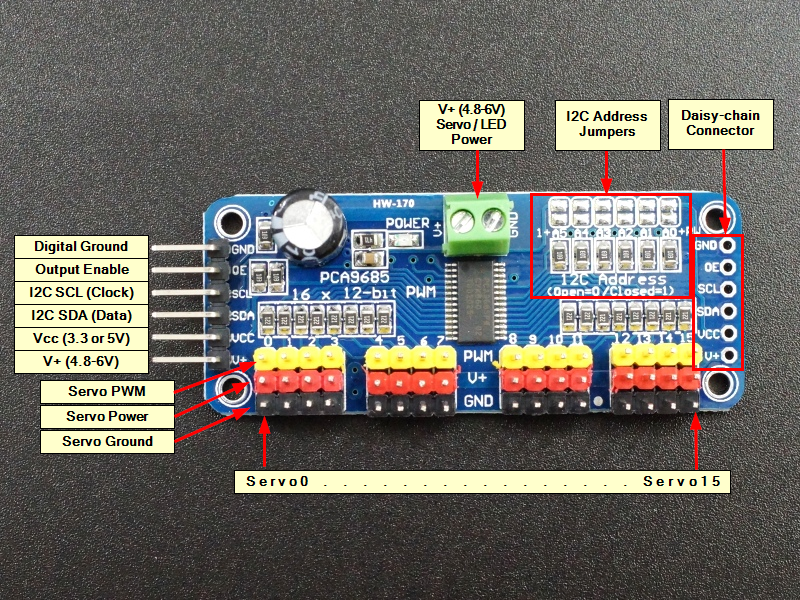
1×2 Terminal Block (Motor Power Input)
This is the main power input when using with servos and is used to power the motors. 5-6V is typically applied to this connector. There is a green LED lit when power is applied to V+
- GND = Ground for motor power supply. This ground is not in common with the GND pin on the header
- V+ = Voltage use for Servo motors. 5V is typical and can be up to 6V
1×6 Header (Logic Connections)
This header is for making connections to the MCU. The controls are 3.3 and 5V compatible.
- GND = Connects to ground on the MCU
- OE = Output enable. The pin is pulled low on the board to always enable the outputs. Optionally, this pin can be driven HIGH to disable all outputs which may be handy for some applications
- SCL = I2C Clock. Connect to SCL pin on MCU
- SDA = I2C Data. Connect to SDA pin on MCU
- VCC = This can be either 3.3V or 5V and should match your MCU power. This supplies power to the PCA9685 chip on the module.
- V+ = This pin is in common with the V+ pin on the terminal block and is an alternative way to apply power for Servos. Using the terminal block to apply V+ is preferred. You can also draw power off this pin if the power is connected to the terminal block.
Note: The unpopulated 1×6 header on the other end of the board is for daisy-chaining multiple modules together. The connections are identical on both ends of the board, so if it suits your application better, you can add a header to the unpopulated location and use that for your input. You could for instance put a male header on the bottom of the module to allow the module to plug horizontally into a breadboard.
1×3 (x16) Color Coded Headers (Servo Connections)
The output headers are color coded to match the standard cables supplied with servo motors for easy hookup. They are numbered 0 thru 15 on the board. Each of these connections has the following pins.
- PWM (Yellow) = Connects to the PWM pin on the servo motor. Servo wire color may be orange, yellow or white.
- V+ (Red) = Connects to the power pin on the servo motor. Servo wire color is red
- GND (Black) = Connects to the ground pin on servo motor. Servo wire color may be brown or black
Note: If using the module with LEDs:
- LEDs connect between PWM and V+ with the cathode of the LED connecting to PWM. You can connect the LEDs the other way, but the PCA9685 is limited to 10mA source current in that configuration.
- All PWM pins have a 220 ohm resistor in series. These will typically work fine as current limiting series resistors when driving standard low power indicator type LEDs and will keep the total power dissipation of the PCA9685 device within spec if all LEDs are driven full on.
OUR EVALUATION RESULTS:
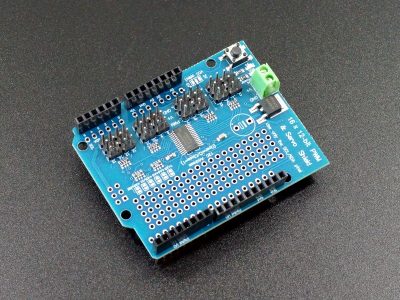
These servo controllers work well for controlling multiple servos and moves some of the wiring clutter away from the MCU which is nice. Once a servo is set to a particular position with a simple I2C command, the controller takes care of the overhead required to keep the motor updated which frees up the MCU to do other stuff. If you are looking for this functionality, but in an Arduino shield, check-out our 16-channel PWM shield at the link below.
Servos expect to see a pulse about every 20mSec and the width of the pulse tells the servo where it should position its shaft. Most standard servos have a position range of approximately 0-180 degrees. They typically detect a pulse width of about 1mSec to be 0 degrees and a pulse width of 2mSec to be 180 degrees. Any pulse widths in-between these values can be used to set the servo to an arbitrary position. For instance, a pulse width of 1.5mSec will set the shaft to 90 degrees, 1.75mSec will be 135 degrees, etc.
The exact range of the servo can vary quite a bit between different types of servos. Instead of 0-180 degrees, some may only go 20-160 while others may go farther than 180. Interpretation of the pulse width such as 1.5mSec being 90 degrees can also vary quite a bit between servos. Some experimentation is generally needed to characterize the servos that you are using. In general, you don’t want the servos to be driven past a position that they can get to as that causes high stall currents and may damage the gears in the servo overtime. In the program below, there are two constants SERVOMIN and SERVOMAX that set the limits for the motor. These can be adjusted to suit the servos that you are working with.
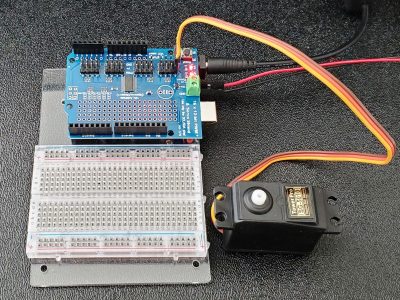
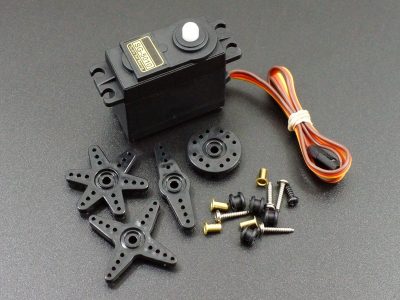
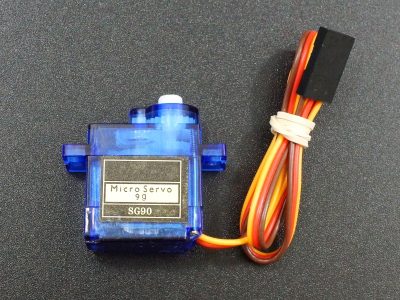
To run the program below, connect the SCL and SDA lines to the same on the MCU. Also supply power and ground from the MCU to the header. For testing a single small servo like the SG90, 5V power from the MCU can be brought into the V+ pin or the screw terminals to power the servo or it can be a separate power supply. The OE header pin can be left unconnected.
Hook a servo up to the module. The program defaults to using channel 0, but this can be changed to any of the 16 available channels.
The program below uses the Adafruit_PWMServo library, so be sure to load it to use this program. It can be downloaded via the Arduino IDE Library Manager.
16-Channel PWM Servo Controller Program
/*
  Exercise the PCA9685 Servo motor controller
  Rotates a single servo on channel 0 back and forth to test basic operation

  Uses Adafruit_PWMServoDriver.h library
*/

#include <Wire.h>
#include <Adafruit_PWMServoDriver.h>

Adafruit_PWMServoDriver pwm = Adafruit_PWMServoDriver(0x40);

#define SERVOMIN  100 // this is the 'minimum' pulse length count (out of 4096)
#define SERVOMAX  440 // this is the 'maximum' pulse length count (out of 4096)

// Set for servo channel to test
int servonum = 0;
//===============================================================================
//  Initialization
//===============================================================================
void setup() {
  Serial.begin(9600);
  Serial.println("Channel 0 Servo test");

  pwm.begin();
  pwm.setPWMFreq(60);
  delay(10);
}
//===============================================================================
//  Main
//===============================================================================
void loop() {
  // Drive servo forward then back.
  for (int pulselen = SERVOMIN; pulselen < SERVOMAX; pulselen++) {
    pwm.setPWM(servonum, 0, pulselen);
  }
  delay(500);

  for (int pulselen = SERVOMAX; pulselen > SERVOMIN; pulselen--) {
    pwm.setPWM(servonum, 0, pulselen);
  }
  delay(1000);
}
Before they are shipped, these modules are:
- Inspected and tested using example program
- Repackaged in high quality recloseable ESD bag for safe storage
Notes:
- None
Technical Specifications
| Operating Ratings | ||
| Voltage (VCC) | 3.3 or 5V | |
| Voltage (V+) | 4.8-6VDC (5V Typical) | |
| Current (idle) | 6mA (typical) | |
| Current (PWM Controller only) | 400mA (max) | |
| Current (Max w/ Servos) | Depends on servos used | |
| Dimensions | ||
| PCB L x W | 63 x 26mm (2.5 x 1″) | |
| Datasheet | PCA9685 |

