Introduction
The Teensy Is Great!
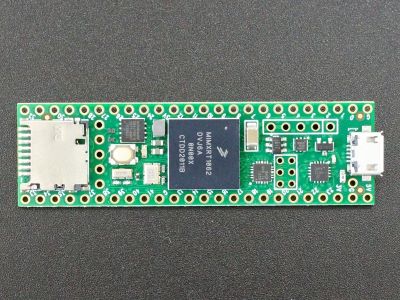
The Teensy product line by PJRC have been a big hit for people that require (or just want) to have the power to do high-speed computations and control that are simply outside the realm of what a standard Arduino or most other MCUs can handle.
Going from a 16MHz 16-bit processor to a 600MHz or even 1.08GHz 32-bit ARM processor with built-in 64-bit FPU (Floating Point Unit) hardware and advanced integrated peripherals is quite the step up.
Because the PJRC team smartly made the decision to make it Arduino IDE compatible with wide library support, it provides a relatively easy upgrade path for people that have outgrown their Uno or Mega 2560. The Teensy provides the power and memory needed for serious hobbyist projects and commercial products.
But If It’s So Great, Why Don’t I Use It More?
Despite loving the thought of Teensy and especially the Teensy 4.1 with all its performance, peripherals and I/O, I found myself not reaching for a Teensy for my own projects very often.
I got to thinking that if the Teensy is so great, why am I not using it more? Mulling it over, I came up with a few conclusions:
- Most of my projects tend to be short-term experimental setups. Though I like the DIP format of the Teensy, I am not a big fan of having to do a bunch of breadboard wiring to get a basic setup running along with debugging the misplaced or loose wiring. The larger a project starts to become, the less satisfying it is to work with it on a solderless breadboard setup.
- Since the Teensy is geared towards compact embedded projects, using adapters such as the Teensy 4.x Audio Adapter generally requires committing to a permanent or semi-permanent mounting on top or bottom of the Teensy. I have commitment issues with that.
- The few available Teensy adapters to expand functionality are great, but limited in number and the physical format is small, making it difficult to easily create other adapters.
- Because of the small form factor of the Teensy, it doesn’t have space for some of the idiot proof power control circuitry that something like an Arduino has. I am more than a little leery about plugging in USB to upload new code and forgetting to remove VIN power first, thus risking damage to the Teensy, computer or power supply.
What To Do About It?
This got me thinking about doing a baseboard for the Teensy 4.1 that incorporated some of the features that would make it easier to work with and came up with the following list:
- Handle the power issue so I don’t have to constantly worry about blowing something up.
- Incorporate a touch LCD to always have a user interface available if I want it.
- Allow standard PJRC Teensy adapters such as the Audio Adapter or PT8211 Adapter to plug into expansion slots to easily work with them on a temporary basis.
- Provide a larger adapter board area for custom adapter boards that can pickup all of the Teensy 4.1 standard I/O pins to tailor the system for a particular project.
- Provide a WiFi / Bluetooth solution via a co-processor since Teensy is weak in that area.
- Make it easy to work with the various interfaces the Teensy 4.1 offers such as Ethernet, Host USB and CAN bus.
- Breakout the main I2C and SPI buses for easy hookup to peripherals.
- Provide built-in logic level converters because some of us will never give up on 5V logic.
- Bring all the MCU pins out to headers for easily connecting jumpers or for hooking up logic analyzer or O’scope probes.
The Result
The result of all that is the Prototyping System for Teensy 4.1. It is meant to provide an ecosystem for working with the Teensy 4.1 in a stable setup that is easy to use and has a lot of flexibility in how it is used. It is being offered in two flavors for maximum flexibility.
Bare Baseboard
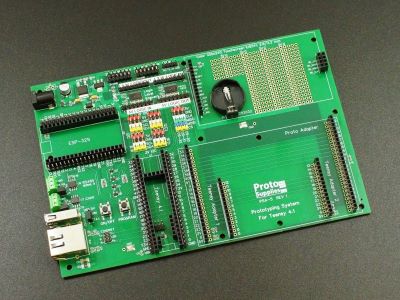
The first is a bare baseboard with all SMD components, connectors and headers included as shown here.
This is offered for those that want to do their own thing or already have some of the pieces like a suitable LCD sitting in their junk drawer.
All accessory items like LCDs or ESP32-S can be ordered individually on the product page to customize as desired.

Fully Stuffed Baseboard
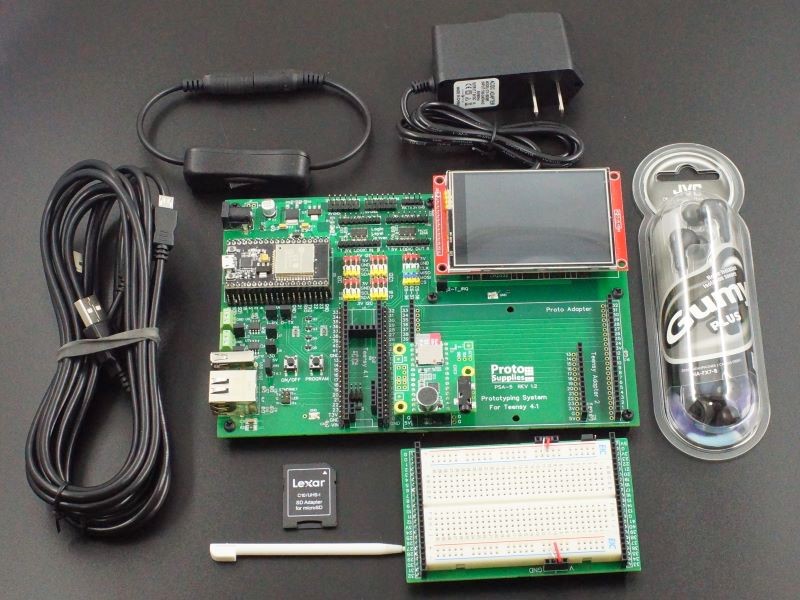
The second option is a ‘Fully Stuffed’ version which includes an ESP32-S WiFi / Bluetooth co-processor, 3.2″ touch LCD and Teensy 4.x Audio Adapter installed along with Scandisk 32GB SD card, JVC earbuds, 2 USB cables, Solderless Breadboard Adapter, DC power switch and 7.5V AC/DC adapter.
The modules are installed and it comes preloaded with some example software so it does something as soon as power is applied if a Teensy 4.1 is also ordered along with the baseboard.

The Teensy 4.1 is ordered separately since it is available in several different memory configurations. In some cases, the customer may already have a Teensy 4.1 that they want to modify and use with the baseboard. The next tutorial on powering up the system covers modifying your own Teensy 4.1 for use with this baseboard if that is your plan.

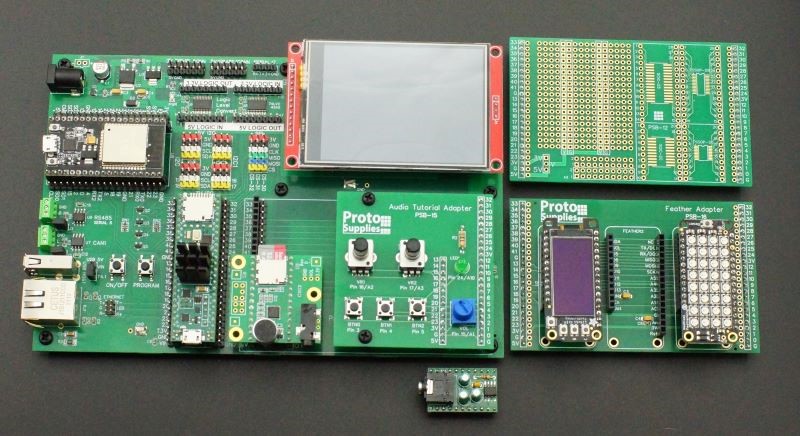
This picture includes some of the adapter boards being created to work with the main baseboard. These include a basic thru-hole and SMD prototyping adapter. An Audio Tutorial Adapter for working with our version of the awesome PJRC Advanced Microcontroller Audio Workshop and an Adafruit Feather adapter that can mount up to 3 of the Adafruit Feather boards.
