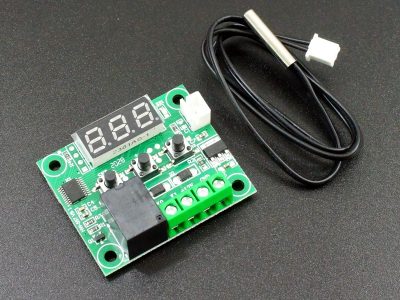
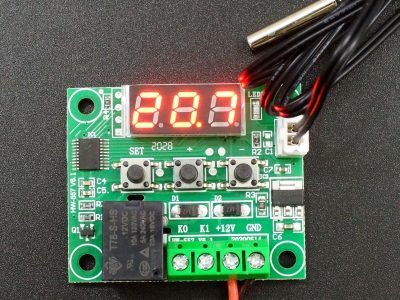
W1209 Temperature Controller Module Enclosure
$1.79
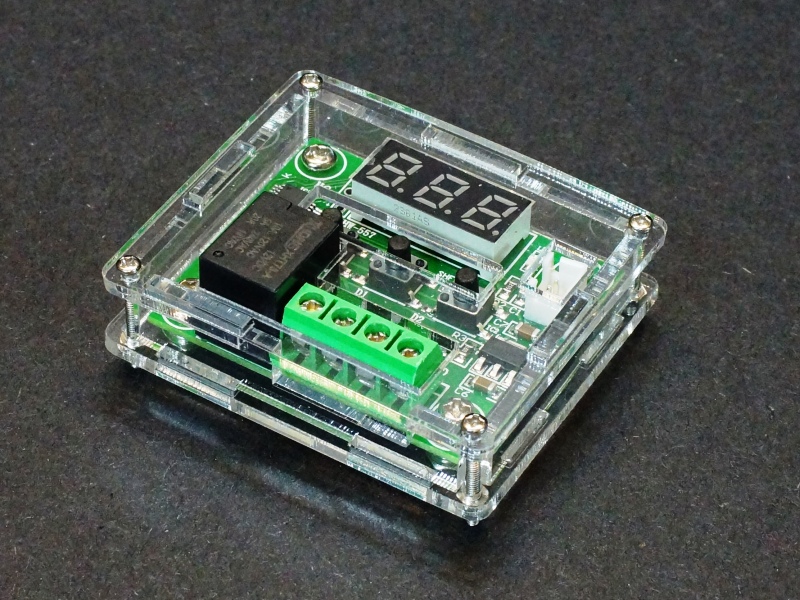
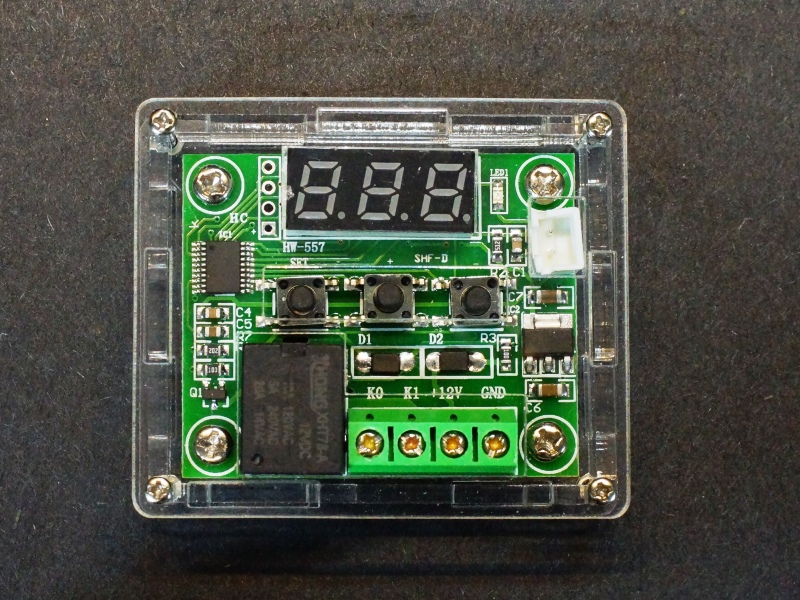
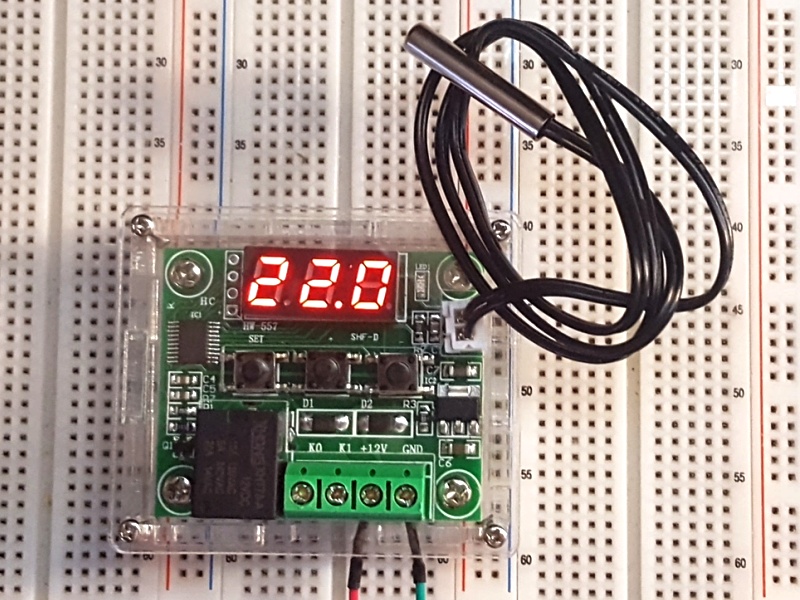
Enclosure fits the popular W1209 Temperature Controller Module to help protect and electrically insulate the module.
12 in stock
Description
This acrylic enclosure fits the popular W1209 Temperature Controller Module to help protect and electrically insulate the module.
PACKAGE INCLUDES:
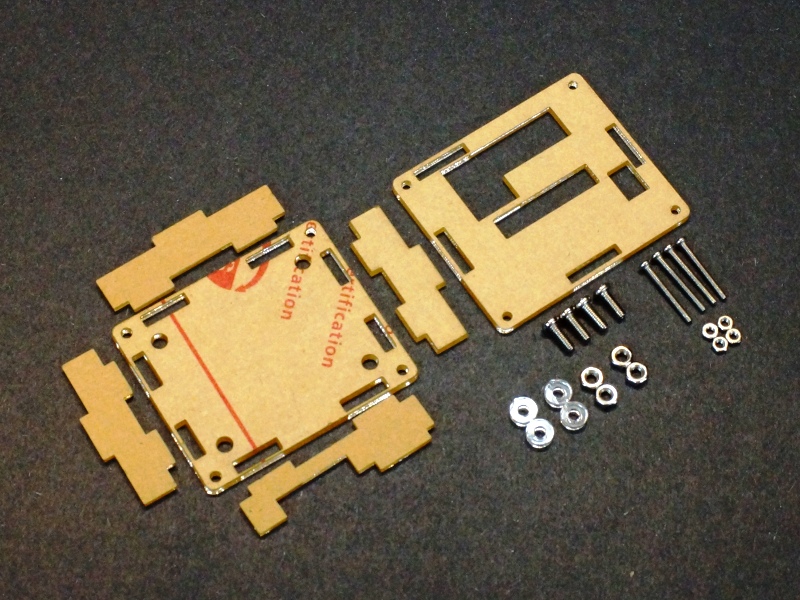
- 6 clear acrylic pieces
- 4 sets of W1209 mounting hardware (large screws, nuts and acrylic spacers)
- 4 sets of enclosure fastening hardware (small screws and nuts)
OUR EVALUATION RESULTS:
These enclosures work well to enclose the module to provide a level of safety if it is being used to switch AC power and they look pretty good doing it.
Assembly is straight forward. Here are the basic steps to follow:
- Remove protective paper from acrylic pieces.
- Insert one of the larger M3 screws into one of the 4 mounting holes in the corners of the module. Hold one of the round acrylic spacers on the back-side of the module and using a screwdriver, thread the screw into the acrylic spacer to hold it in place. Repeat for all 4 corners of the module.
- Place the module on the bottom piece of acrylic which is the more solid of the two large pieces and attach it using the 4 larger nuts.
- Insert each of the 4 side pieces into the slots in the bottom piece of acrylic. Ensure the side piece with the cut-out is placed on the side with the screw terminals for wire access.
- Place the top acrylic piece on top and guide the tabs into the slots in the top piece.
- Install the 4 small long screws into the 4 corners of the case and fasten with the nuts. Do not tighten to firmly or the acrylic will bend.
Notes:
- This case will not fit the XH-W1219 module because it is larger than the W-1209 module
Technical Specifications
| Material | Clear acrylic | |
| Material Thickness | 2.4mm (0.1″) | |
| Case Dimensions (L x W x H) | 60 x 50 x 15mm (2.36 x 1.97 x 0.6″) | |
| Country of Origin | China |

